How to Use Hyper-V Virtualization on Mac Computers
Virtualization plays a major role in many businesses, though this may not always be immediately apparent to Mac users. Increasingly, the applications they work with will not be running on tangible hardware but rather on virtualized systems. Software developers can also make good use of such virtual machines (VMs).
Microsoft has long embraced this virtualization technology and offers Microsoft Hyper-V as a virtualization environment for a range of their more recent Windows and Windows Server operating systems, as well as a standalone product. However, Hyper-V’s hosting capabilities aren’t restricted to virtualized operating systems such as additional Windows environments or Linux distributions. IT teams can use Hyper-V to consolidate virtualized hardware—for instance, servers as private clouds. Applications such as Remote Desktop are in part based on Hyper-V as well.
Hyper-V is not for macOS
However, macOS® offers no support for Hyper-V and hosted systems that could rely on it. Organizations that use Mac® computers alongside Hyper-V virtual machines have no option other than to take advantage of Parallels Desktop™ for Mac Business Edition. It is the perfect solution as it comes with support for Hyper-V virtualization.
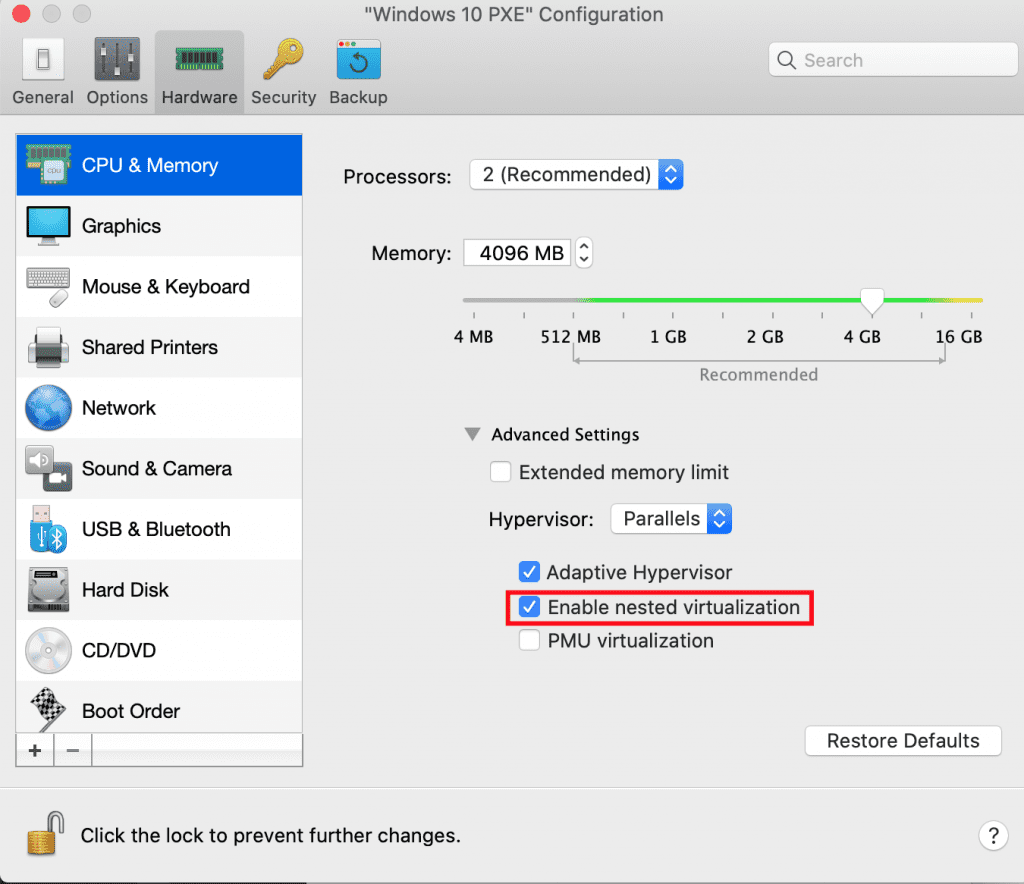
Both administrators and users can activate Hyper-V in Parallels Desktop Business Edition. The corresponding option can be found as a checkbox under “CPU & RAM” labeled as “Enable nested virtualization.” This will allow a Parallels Desktop Business Edition virtual machine to execute its own virtualization, such as Hyper-V. As a result, organizations can make Hyper-V applications available to Mac users as well.

Learn more about using Hyper-V in Parallels Desktop Business Edition and download a free trial.
Learn more:
Microsoft Docs | Hyper-V Technology Overview
Microsoft | Supported Linux and FreeBSD virtual machines for Hyper-V on Windows
Parallels Knowledge Base | Nested Hyper-V support

