
How to Use Windows To Go in Parallels Desktop
Guest blog by Ramakrishna Sarma Chavali, Parallels Support Team
Do you remember those times when you had to carry a huge portable external drive to copy a couple of .doc files from one computer to another? We’re pretty lucky to live in the 21st century, because now you can carry a tiny flash drive with a capacity of 1TB.
But what if you could carry more than just a few Word docs with you? What if you could carry all of Windows with you? With all your files, programs, etc. Believe it or not, you can!
If you’re not familiar with Microsoft’s Windows To Go, it’s a relatively new technology for enterprise users of Windows 10 that enables consumers to boot into Windows from external USB drives. Windows To Go is a Windows 10 image that allows users to work from anywhere. To use Windows To Go, you simply insert the USB drive into your PC and boot into your personalized Windows 10 image.
With that in mind, let me predict your next question:
Q: Can I use Windows To Go with Parallels Desktop 11 for Mac?
A: Yes!
And another one…
Q: Does this mean I’ll be able to configure Windows To Go and use it on a different Mac with Parallels Desktop installed?
A: Yes!
Since Windows To Go is a full Windows 10 image, you can work with all Windows 10 applications. However, some applications that use hardware binding may not run when you roam with Windows To Go. In those cases, you will have to use those on the same computer every time.
To use Windows To Go in Parallels Desktop 11, you need the following:
- The recommended USB drive for Windows To Go (must be USB 3.0 of 32GB or bigger) with Windows To Go configured on it. Visit this article for detailed instructions from Microsoft.
- A Mac with USB 3.0 support (any Mac released after mid-2012).
- Parallels Desktop 11 installed on your Mac.
Here’s how to create a Windows To Go virtual machine:
(For additional info on this process, please feel free to read this KB article on the subject.)
- Start the New Virtual Machine Wizard.
- Click Locate manually, then select “Continue without a source.”
- Select “Windows 10” as your guest OS type and hit “Continue.”
- At the “Name and Location” screen, select the “Customize settings before installation” checkbox.
- Go to the Virtual Machine configuration, click on Hardware → Boot Order.
- Enable the checkbox “Use EFI Boot,” choose the external drive you will boot from and put “External device” as the first element in the Boot order field.

Here’s how to permanently assign the Windows To Go device to your VM:
(In addition, here are more details on how to connect a USB device directly to your VM.)
- Start your VM for the first time. It won’t boot into Windows To Go yet.
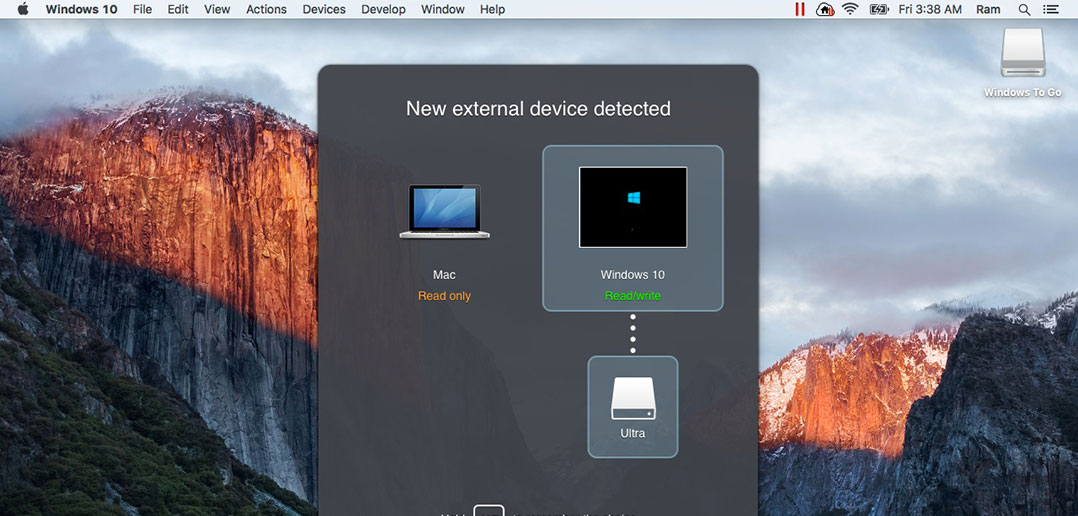
- Connect your Windows To Go device to your Mac. You will see a USB selection dialog. Hold ALT and select your VM.
- Restart your VM. It will now boot directly into Windows 10 To Go.

So, the next time you want to boot into Windows To Go, just do the following:
- Insert your Windows To Go drive into your Mac.
- Launch your Windows To Go VM.
Easy enough, right?
A few points to consider:
- Make sure the Parallels Tools were installed during your VM setup (this should be done automatically). If not—install it manually.
- Do not suspend and create snapshots for your Windows To Go VM (not recommended).
- To stop working with the Windows To Go Virtual Machine, shut it down with the Windows (or Parallels Desktop) Shutdown menu and eject the Windows To Go drive from your Mac using Finder.
- Don’t attach the Windows To Go drive into the USB hub. Always insert it directly into the USB3 port on your Mac.
That’s it! Your Windows To Go is ready to be used in your Parallels Desktop VM!
Do you use Windows To Go? Do you find it useful? Share your thoughts in the comments and don’t forget to follow Parallels Support on Twitter.